How to Hang a Heavy Frame Without Damaging Your Walls: The Complete Guide
By: KoolyDesign l September 2025
Picture this: You've just received that stunning oversized botanical print you've been eyeing for months. It's the perfect piece to transform your living room into the sanctuary you've always dreamed of. But as you hold it up against the wall, a familiar worry creeps in—how do I hang this beautiful piece without turning my wall into Swiss cheese?
You're not alone in this dilemma. Hanging heavy artwork is one of the most common decorating challenges homeowners face, especially when you're dealing with statement pieces that weigh 20 pounds or more. The good news? With the right approach, you can display your favorite art securely while keeping your walls pristine and damage-free.
Whether you're hanging one of our large-scale nature prints or showcasing a cherished family heirloom, this guide will walk you through everything you need to know about hanging heavy frames like a pro—no contractor required.
Understanding the Weight Challenge: Why Regular Nails Just Won't Cut It
Before we dive into solutions, let's talk about why hanging heavy frames requires special consideration. Most people underestimate just how much stress a heavy frame puts on a wall, especially when that weight is concentrated on a single point.
Here's the reality: A standard nail hammered into drywall can typically support only 5-10 pounds before the wall starts to give way. Compare that to a large framed print—say, one of our 24" x 36" canvas pieces in a substantial wooden frame—which can easily weigh 15-25 pounds or more. Without proper support, you're looking at sagging artwork, damaged walls, or worse, a crashed frame and shattered glass.
The key is understanding that successful heavy frame hanging is about distribution of weight rather than sheer holding power. Think of it like the difference between standing on someone's foot with a stiletto heel versus a flat shoe—same weight, completely different impact.
Step 1: Know Your Wall Type (Because Not All Walls Are Created Equal)
Your hanging strategy should always start with understanding what you're working with. Different wall types require different approaches, and using the wrong technique can lead to frustration, damage, or safety issues.
Drywall: The Common Challenge
Drywall is found in most modern homes and apartments, but it's also the trickiest surface for hanging heavy items. Made of gypsum plaster pressed between two sheets of heavy paper, drywall alone provides minimal support for anything substantial.
The solution? You need to either hit a wall stud (the wooden frame behind the drywall) or use specialized anchors that distribute weight across a larger area of the wall surface.
Plaster Walls: Old-School Strength with a Catch
If you live in an older home, you might be dealing with plaster walls. These are actually stronger than drywall for holding weight, but they come with their own challenges. Plaster is brittle and can crack easily if you're not careful with your drilling or hammering technique.
Pro tip: Use a small pilot hole when working with plaster, and always drill slowly to prevent cracking.
Brick and Concrete: Built to Last
Masonry walls can handle serious weight, but they require specialized tools and hardware. You'll need masonry drill bits and concrete screws or anchors designed specifically for these materials.
Step 2: Choose Your Hardware Wisely
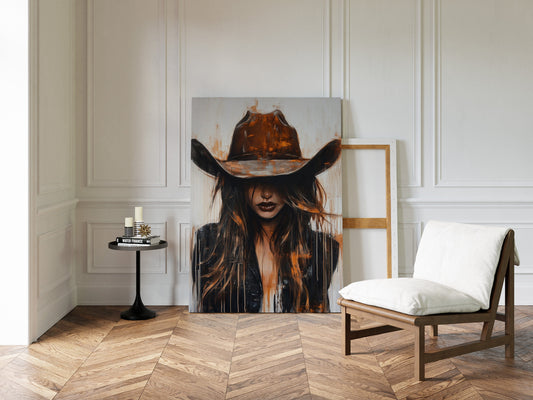
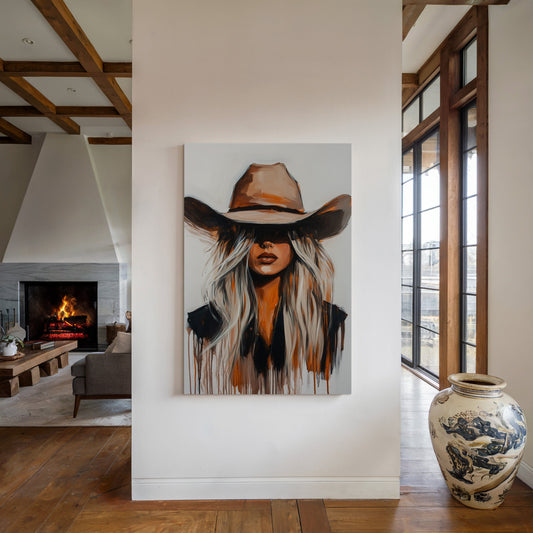
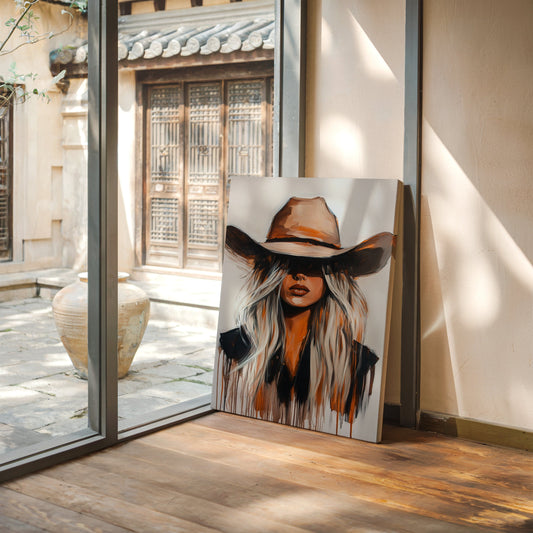
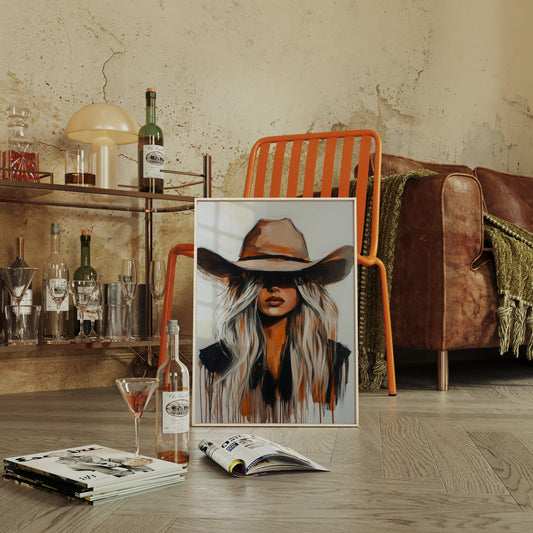
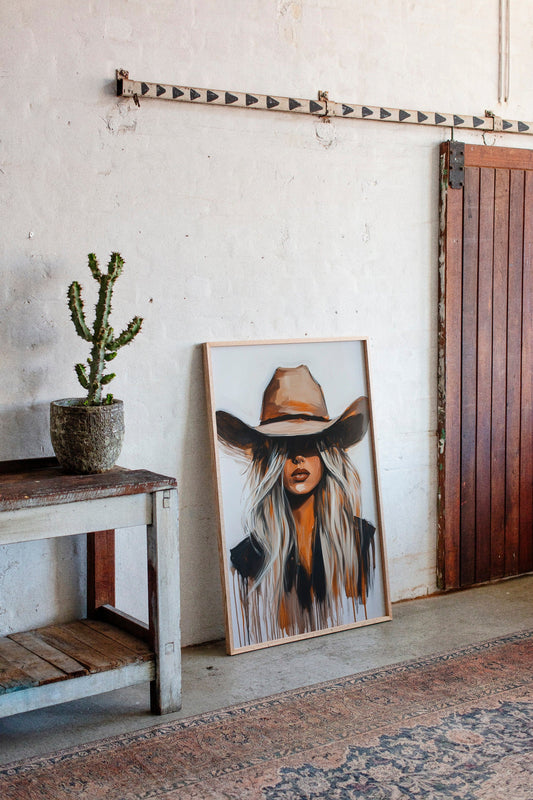
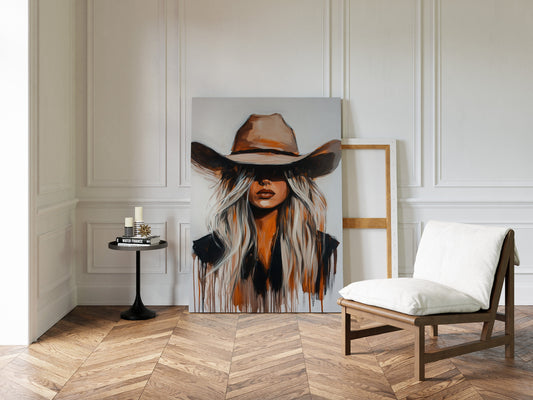
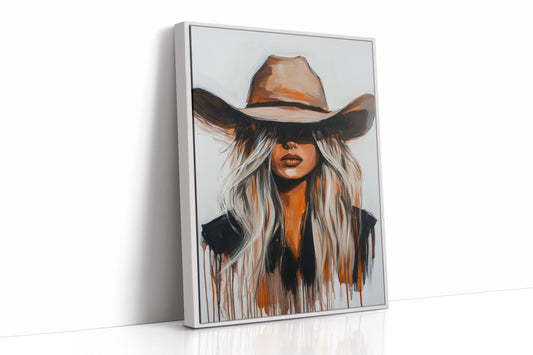
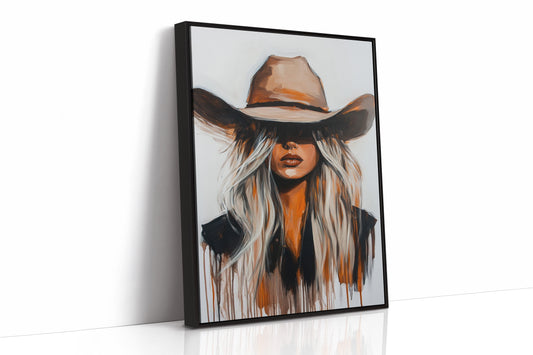
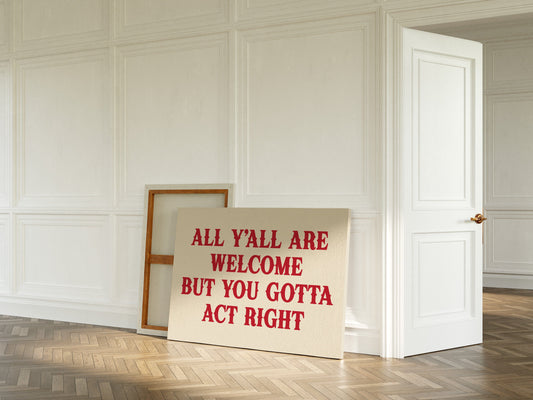
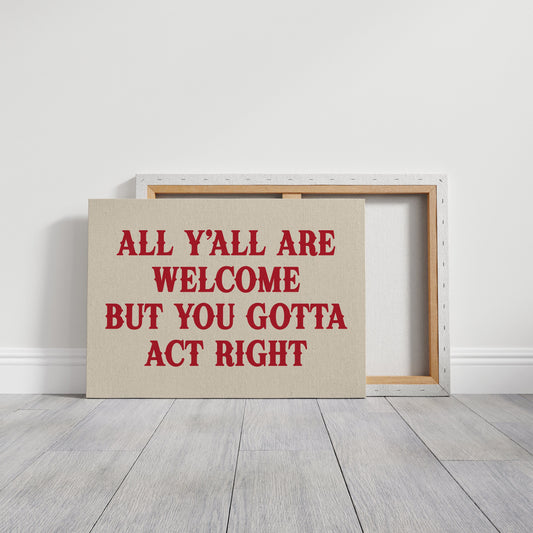
This is where many DIY attempts go wrong. The hardware you choose makes all the difference between a securely hung frame and a decorating disaster. Let's break down your options:
Wall Anchors: Your Drywall Best Friend
These ingenious little devices work by expanding behind the drywall once inserted, creating a much larger surface area to distribute weight. They come in plastic and metal varieties, with metal anchors generally offering superior holding power.
Best for: Medium to heavy frames (up to 50 pounds when used properly)
Toggle Bolts: The Heavy-Duty Champions
Toggle bolts are the workhorses of wall hanging hardware. They feature spring-loaded wings that flip open behind the wall, creating maximum holding power. Quality toggle bolts can support 50-100 pounds or more, making them ideal for your largest statement pieces.
Best for: Very heavy frames, gallery walls, or situations where you need maximum security
Adhesive Hooks and Strips: The Renter's Dream
Modern adhesive hanging solutions have come a long way. Heavy-duty command strips can support up to 16 pounds per set and remove cleanly without damaging paint or leaving residue. They're perfect for renters or anyone who wants a completely damage-free solution.
Best for: Medium-weight frames with flat backs, temporary hanging, or rental properties
French Cleat Systems: The Professional Standard
Used by galleries and professional installers, French cleat systems distribute weight along the entire width of the frame. One piece mounts to the wall, and the corresponding piece attaches to the frame back, creating an incredibly secure connection.
Best for: Large artwork, heavy mirrors, or permanent installations
The Two-Point Rule
Regardless of which hardware you choose, remember this golden rule: always use two hanging points instead of one. This prevents tilting, reduces stress on each individual anchor, and creates a more stable hanging system overall. When we design the hanging systems for our larger pieces at KoolyDesign, we always include hardware for two-point hanging.
Step 3: Damage-Free Solutions for Every Situation
Ocean-Inspired Art for Endless Summer Feels
We understand that not everyone can (or wants to) put holes in their walls. Whether you're renting, living in a dorm, or simply prefer a no-commitment approach to decorating, there are several excellent damage-free options available.
Command Strips: The Evolution of Damage-Free Hanging
Today's heavy-duty command strips are remarkably effective. The key is using them correctly:
- Clean the wall surface thoroughly with rubbing alcohol
- Apply strips according to package directions (usually requires pressing firmly for 30 seconds)
- Wait the recommended time before hanging (typically 1 hour)
- Use multiple strip sets for heavier pieces
Real-world tip: We've found that command strips work best with our lightweight canvas prints and metal prints with flat mounting systems.
Hercules Hooks: Maximum Hold, Minimal Damage
These innovative hooks push directly into drywall without requiring tools or pre-drilling. The angled design distributes weight effectively, and they can support up to 150 pounds when installed correctly. While they do create a small hole, it's easily filled with spackling if you ever need to remove them.
Rail and Wire Systems: Flexibility Meets Function
Gallery rail systems install once along the top of your wall or ceiling, then allow you to hang multiple pieces using adjustable cables or rods. This approach gives you ultimate flexibility to rearrange your display without creating new holes.
This system works particularly well for creating dynamic gallery walls with our collection of coordinating prints—you can easily swap pieces seasonally or as your style evolves.
Step 4: Measure Twice, Hang Once
Precision in measurement and marking separates successful hanging projects from frustrating do-overs. Here's how to get it right the first time:
The Tape Trick
Before making any marks on your wall, use painter's tape to outline exactly where your frame will hang. This gives you a visual preview of the placement and makes it easy to adjust before committing to holes or adhesive.
Find Your Center Line
Measure the width of your wall space and mark the center point. Then measure the hanging hardware on your frame to determine where your wall anchors need to go. Most frames hang from points that are 1/4 to 1/3 of the frame width from each side.
Level Everything
A crooked frame is immediately noticeable and can make your entire room feel "off." Use a quality level for both marking your anchor points and checking the final hang. Even a 1-degree tilt can make a large frame appear off by half an inch or more across its width.
Pro tip: Many smartphones have built-in level apps that work perfectly for this purpose.
Step 5: The Hanging Process
Now for the moment of truth. Take your time during this step—rushing leads to mistakes.
Installation Order
- Mark your points: Use your measurements to mark exactly where anchors or hooks will go
- Install hardware: Drill pilot holes if needed, then install your chosen hanging hardware
- Test the hold: Gently pull down on installed anchors to ensure they're secure
- Hang with care: Lift the frame onto the hanging points slowly and deliberately
- Final adjustments: Use your level to make any needed positioning tweaks
Finishing Touches
Once your frame is hung, add small felt bumpers or cork pads to the back bottom corners. These prevent the frame from shifting and protect both the frame and wall from scuffs and scratches.
Common Mistakes to Avoid
Learning from others' mistakes can save you time, money, and frustration:
Using the wrong anchor for your wall type: Plastic anchors in plaster walls often fail, while metal anchors in thin drywall can crack the surface.
Eyeballing measurements: Always measure and mark precisely. Your eye is not as accurate as you think it is.
Ignoring weight limits: Don't push hardware beyond its rated capacity. When in doubt, go up to the next weight class.
Forgetting about seasonal changes: Humidity and temperature changes can cause walls and frames to expand and contract slightly. Check heavy hangings seasonally.
When to Call in the Professionals
While most frame hanging projects are well within DIY capabilities, some situations warrant professional help:
- Hanging very heavy pieces (over 50 pounds)
- Working with valuable or irreplaceable artwork
- Installing gallery rail systems
- Dealing with unusual wall materials or structural concerns
Making It All Come Together
Successfully hanging heavy frames is about more than just following technical steps—it's about creating a space that reflects your personality and brings you joy every day. When you walk into a room and see that perfect piece of art hanging exactly where it should be, level and secure, you're experiencing the satisfaction of a job well done.
At KoolyDesign, we create our artwork with real homes and real people in mind. Whether you're drawn to our minimalist line art that pairs beautifully with Scandinavian décor, or you prefer our bold botanical prints that make a statement in modern farmhouse settings, we want every piece to find its perfect place on your walls.
Your Next Steps to Perfect Wall Display
Hanging heavy frames safely doesn't require professional skills—just the right knowledge, tools, and patience. By understanding your wall type, choosing appropriate hardware, and following proper measuring and installation techniques, you can display your favorite artwork with confidence.
The investment in proper hanging hardware and technique pays dividends in both the security of your artwork and the longevity of your walls. Plus, there's something deeply satisfying about stepping back and admiring a perfectly hung piece that you installed yourself.
Ready to put these techniques to work? Browse our artwork to find statement pieces worthy of your newfound hanging expertise. From oversized nature photography to abstract art that commands attention, we have the perfect piece waiting to transform your space.
Love what you're seeing? Join our newsletter for exclusive design tips, new release notifications, and special subscriber discounts. Follow us on Instagram and Pinterest for daily design inspiration and behind-the-scenes glimpses of our latest creations.
Have questions about hanging a specific piece? Our design team is always happy to provide personalized advice. Contact us at support@koolydesign.store or through our website chat.
Design Ideas
-
Cowgirl in Crimson – Modern Western Grit
44 reviewsRegular price $25.00 USDSale price $25.00 USDUnit price / per -
Desert Blonde – Western Edge
10 reviewsRegular price $25.00 USDSale price $25.00 USDUnit price / per -
-
Cowboy Code For Civilized Company
3 reviewsRegular price $25.00 USDSale price $25.00 USDUnit price / per
Get Design Tips
Curated design inspiration delivered weekly